Hexo로 블로그를 관리해보자.
Hexo Document를 참고하여 정리 했고, 자세한 사항은 사이트에서 확인 할 수 있다.
# 준비단계
github repository 만들기
github에서 (user name).github.io repository를 만든다. ( 나의 경우는 O-Seok.github.io )clone하여 내 로컬에도 환경을 만들어 놓는다.
node 설치하기
Hexo는 node.js 기반의 정적 사이트 생성기의 일종이므로 node를 설치해준다.
1 | $ brew install node |
# hexo 설치
hexo를 설치 해준다.
npm install -g hexo-cli 해도 되지만
권한이 필요한 경우 sudo를 붙여서 설치해준다.
1 | $ sudo npm install -g hexo-cli |
hexo 블로그로 이용할 폴더의 hexo를 초기화 시켜준다.
내 폴더 이름은 YSblog라 했다.
1 | $ hexo init <folder> |
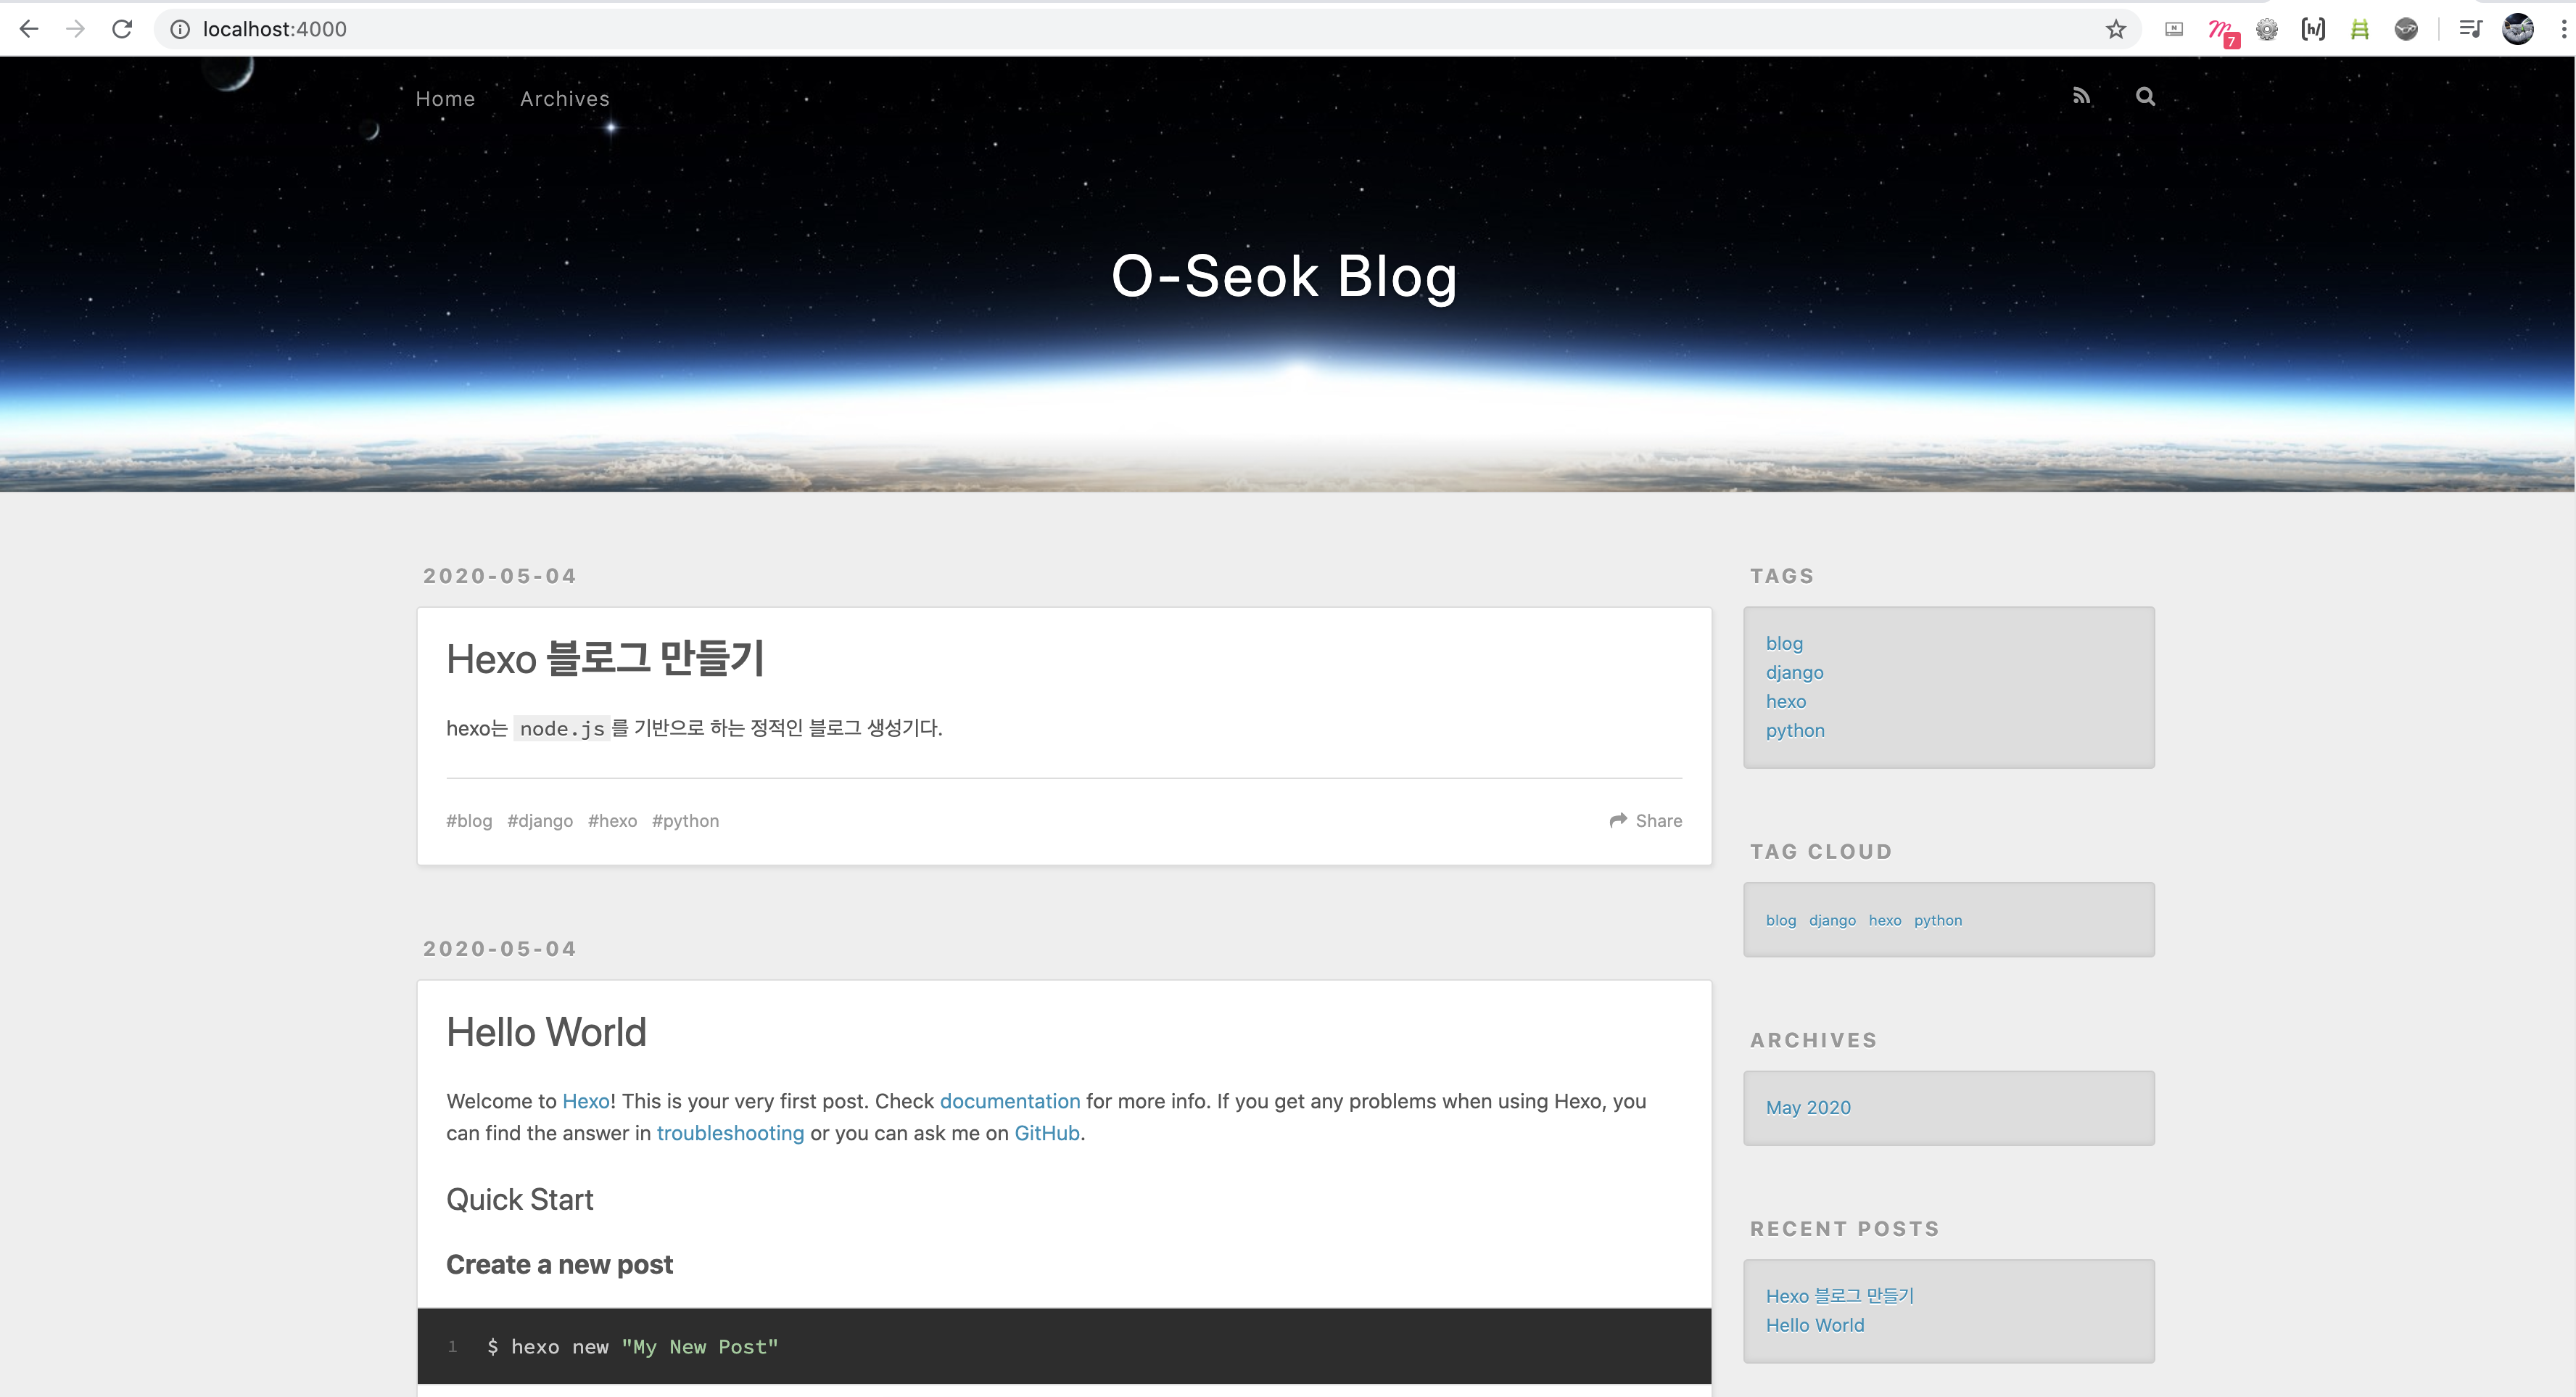
로컬영역에서 hexo server를 구동시킨다.
http://localhost:4000 로 접속해서 확인한다.
1 | $ hexo server |
1 | claudjung@jeong-yeongseog-ui-MacBookPro YSblog % hexo server |
# 첫 포스트 작성
hexo 설치가 잘 되었다면 포스팅을 해본다.
포스트 생성
1 | $ hexo new post "title" |
1 | claudjung@jeong-yeongseog-ui-MacBookPro YSblog % hexo new post first-posting |
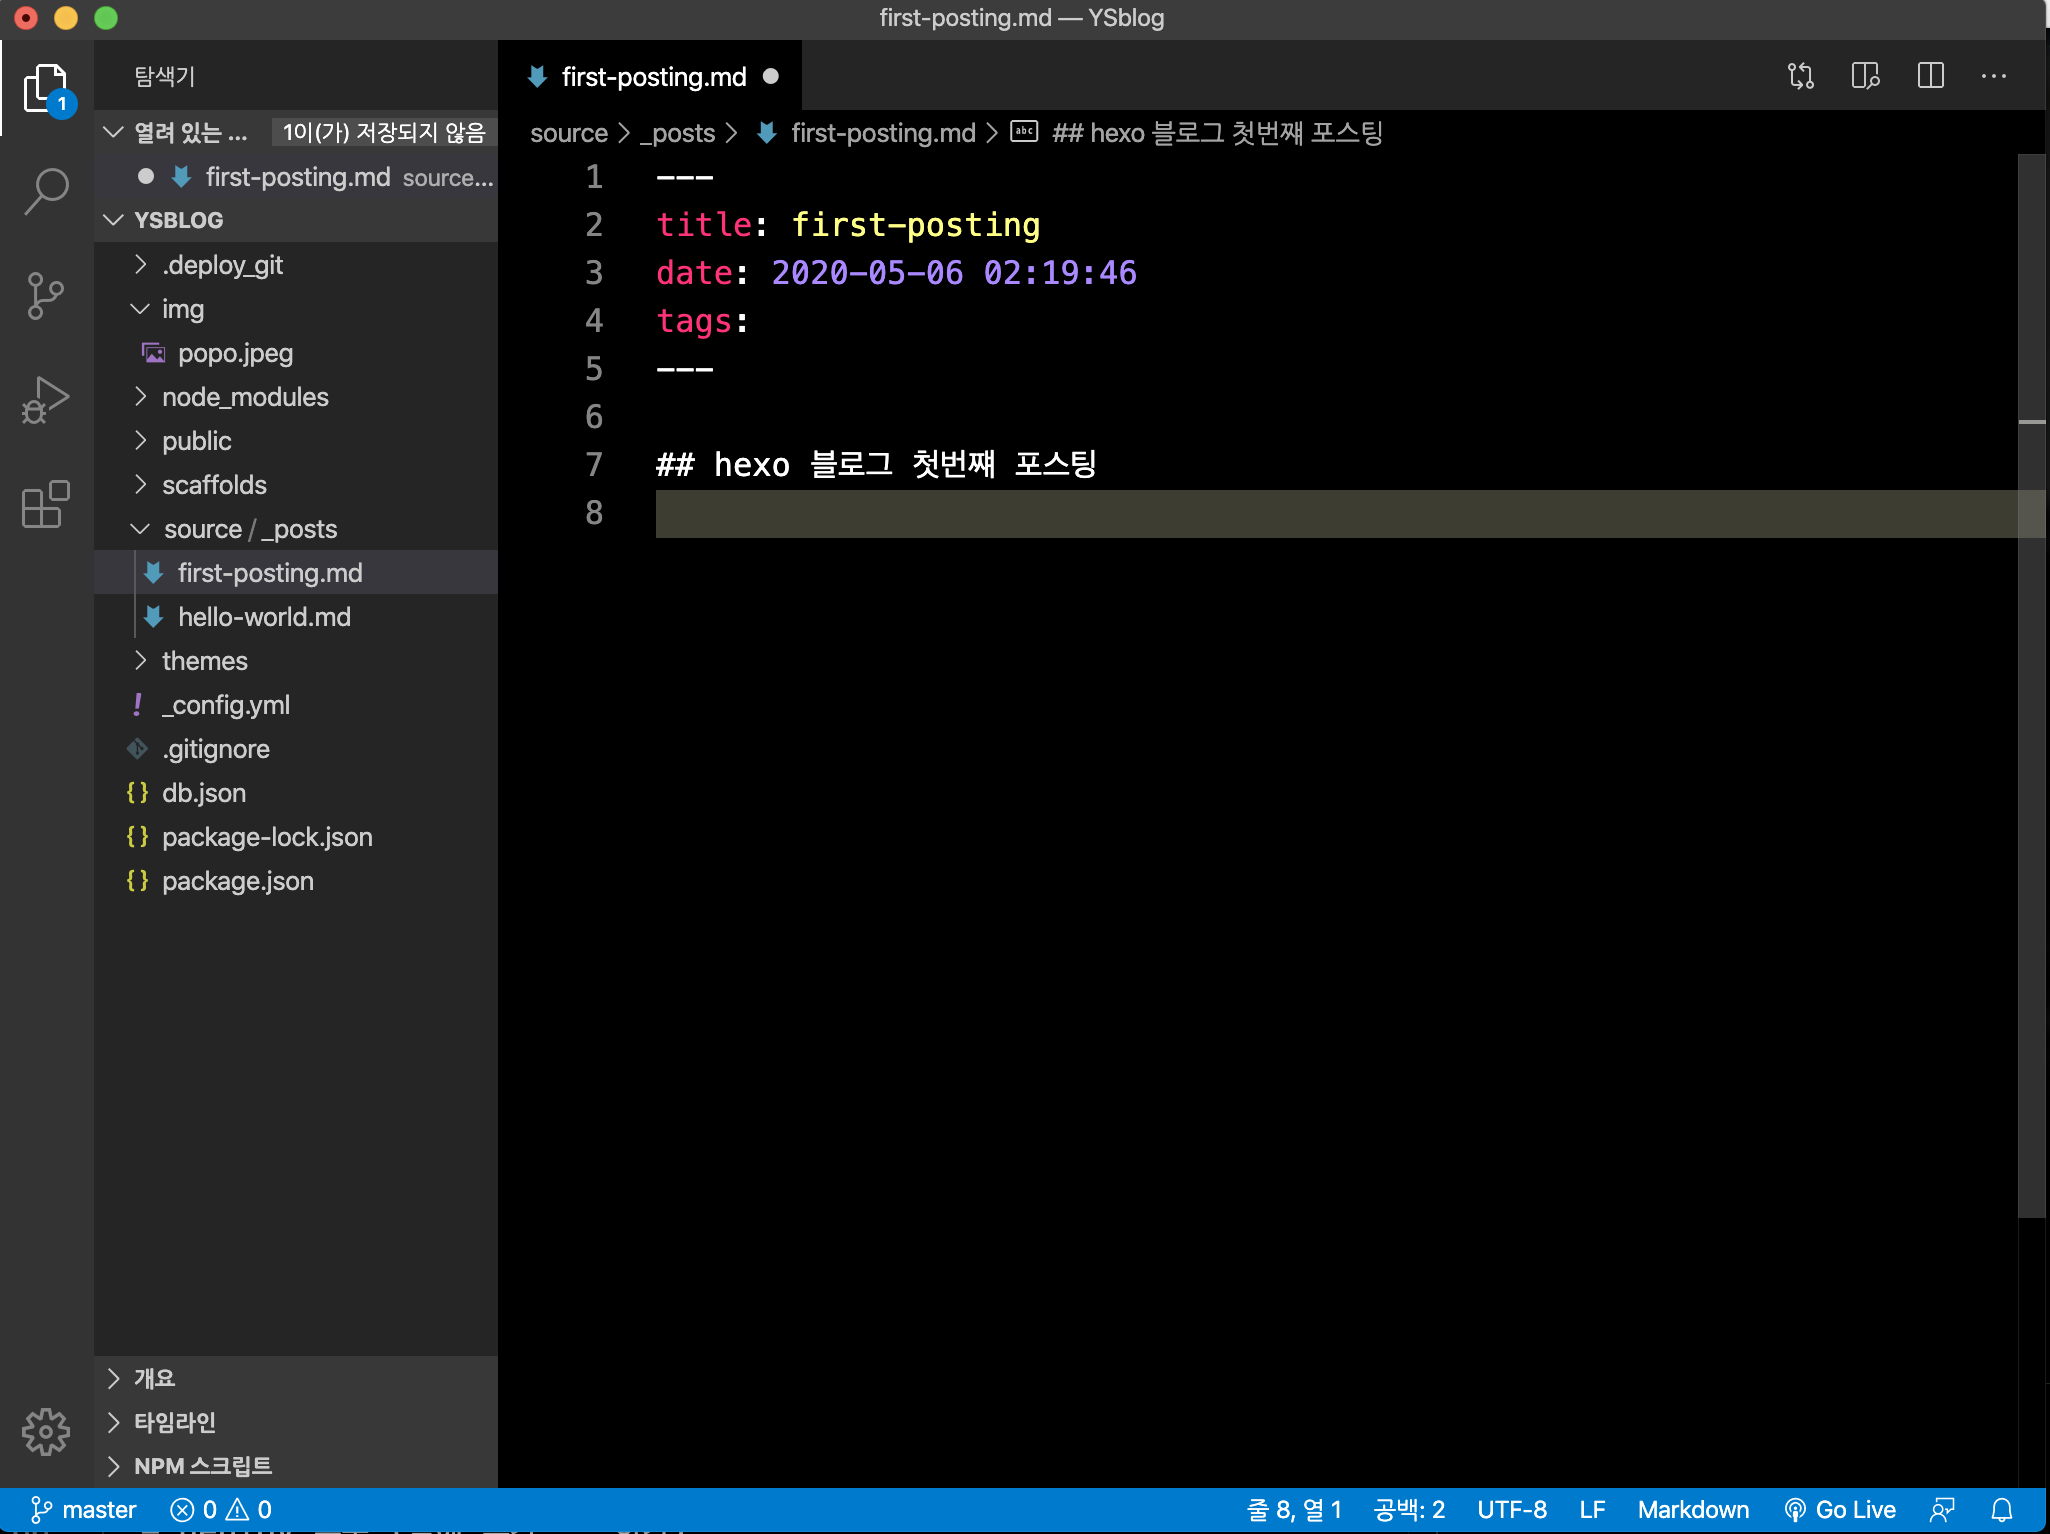
해당 위치에서 vscode를 열어 포스트를 편집한다.
hexo clean : 정리를 한번 해준다.hexo generate : git의 commit 느낌hexo deploy : git의 push의 느낌이랄까..
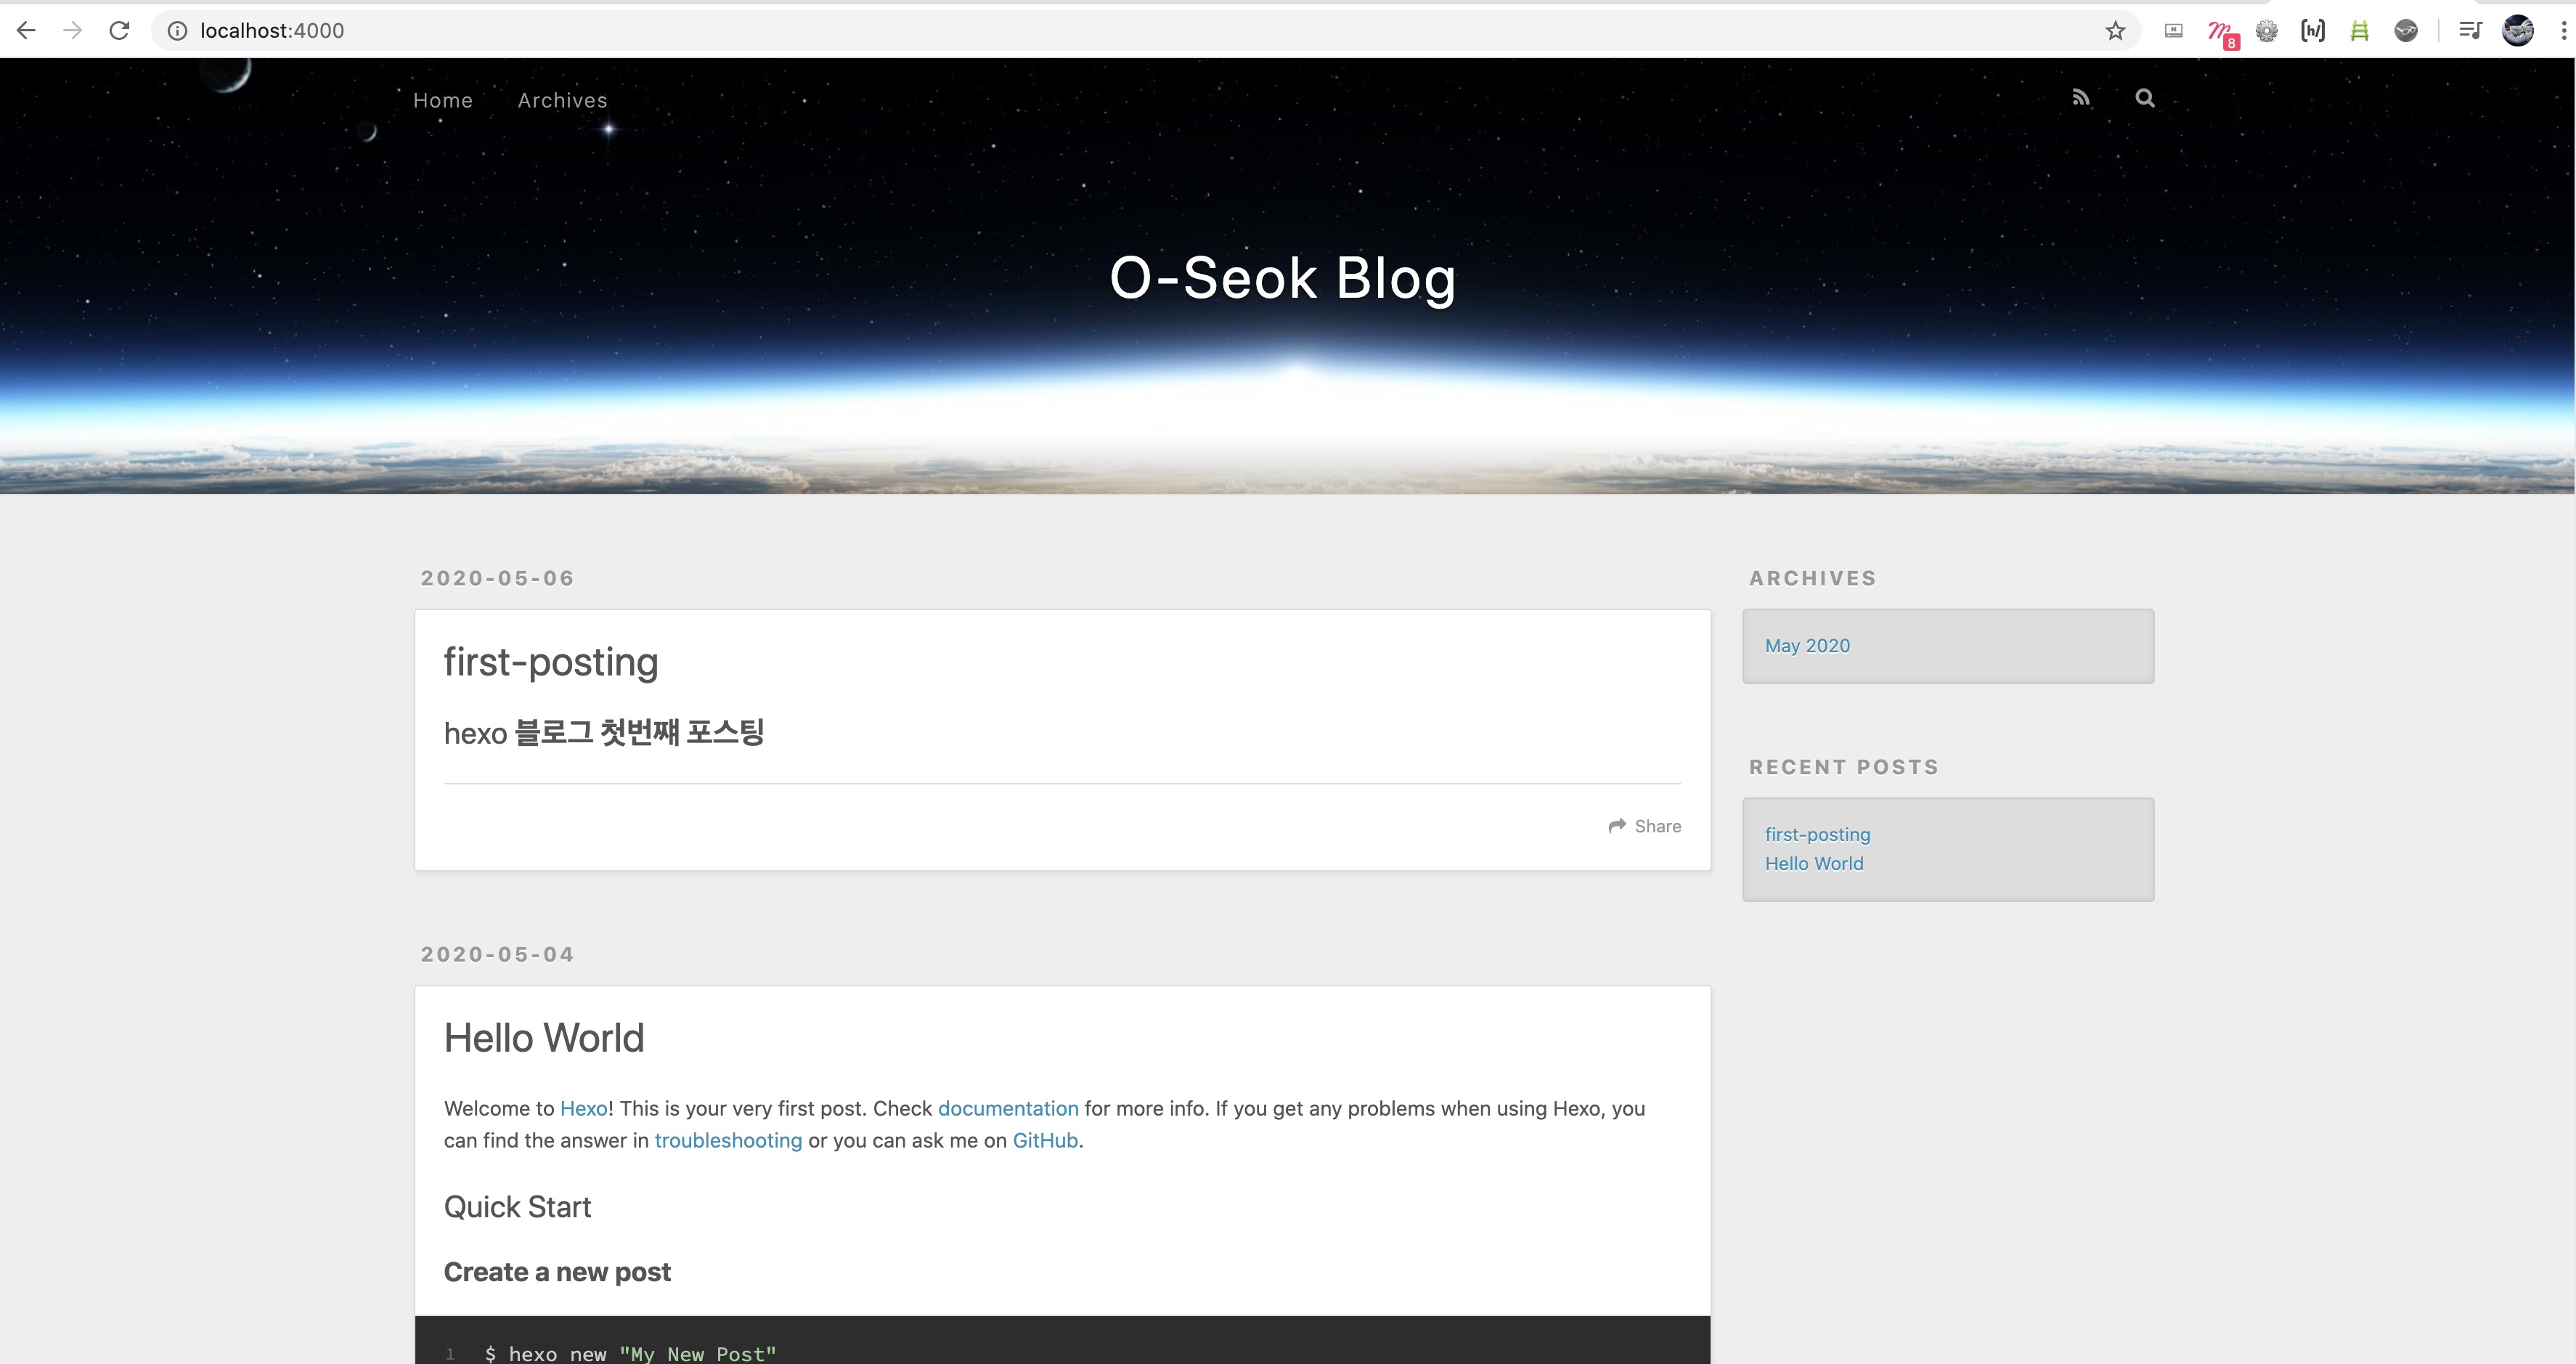
순서대로(hexo clean -> hexo generate -> hexo deploy) 명령을 해주고 hexo server를 구동
로컬에서 포스팅이 되었는지 확인해준다.
# (User name).github.io 와 연동시키기
이제 나의 github에 있는 O-Seok.github.io를 hexo로 관리하기 위해서 연동시켜보자.
설정
hexo-deployer-git 을 설치한다.
1 | $ npm install hexo-deployer-git --save |
_config.yml 을 편집한다.
1 | claudjung@jeong-yeongseog-ui-MacBookPro YSblog % ls -al |
먼저 URL의 url: 부분을 나의 github.io repository 이름으로 수정해준다.
1 | # URL |
vim의 insert 모드로 변환 후, #Deployment 의type: : gitrepo: : https://github.com/(User name)/(User name).github.io.git
수정해준다.
- ⚠️ 주의
type, repo 는 앞에서 2칸을 띄우고 작성한다.- 이후엔 한칸을 띄우고 작성한다.
(이것은 약속! 이렇게 해야 적용이 된다.)
1 | # Deployment |
다음으로 hexo clean , hexo generate, hexo deploy 를 순서대로 명령해준다.
hexo로 관리하던 블로그용 폴더 안의 파일들이 github의 github.io repository에 덮어 씌여진다.
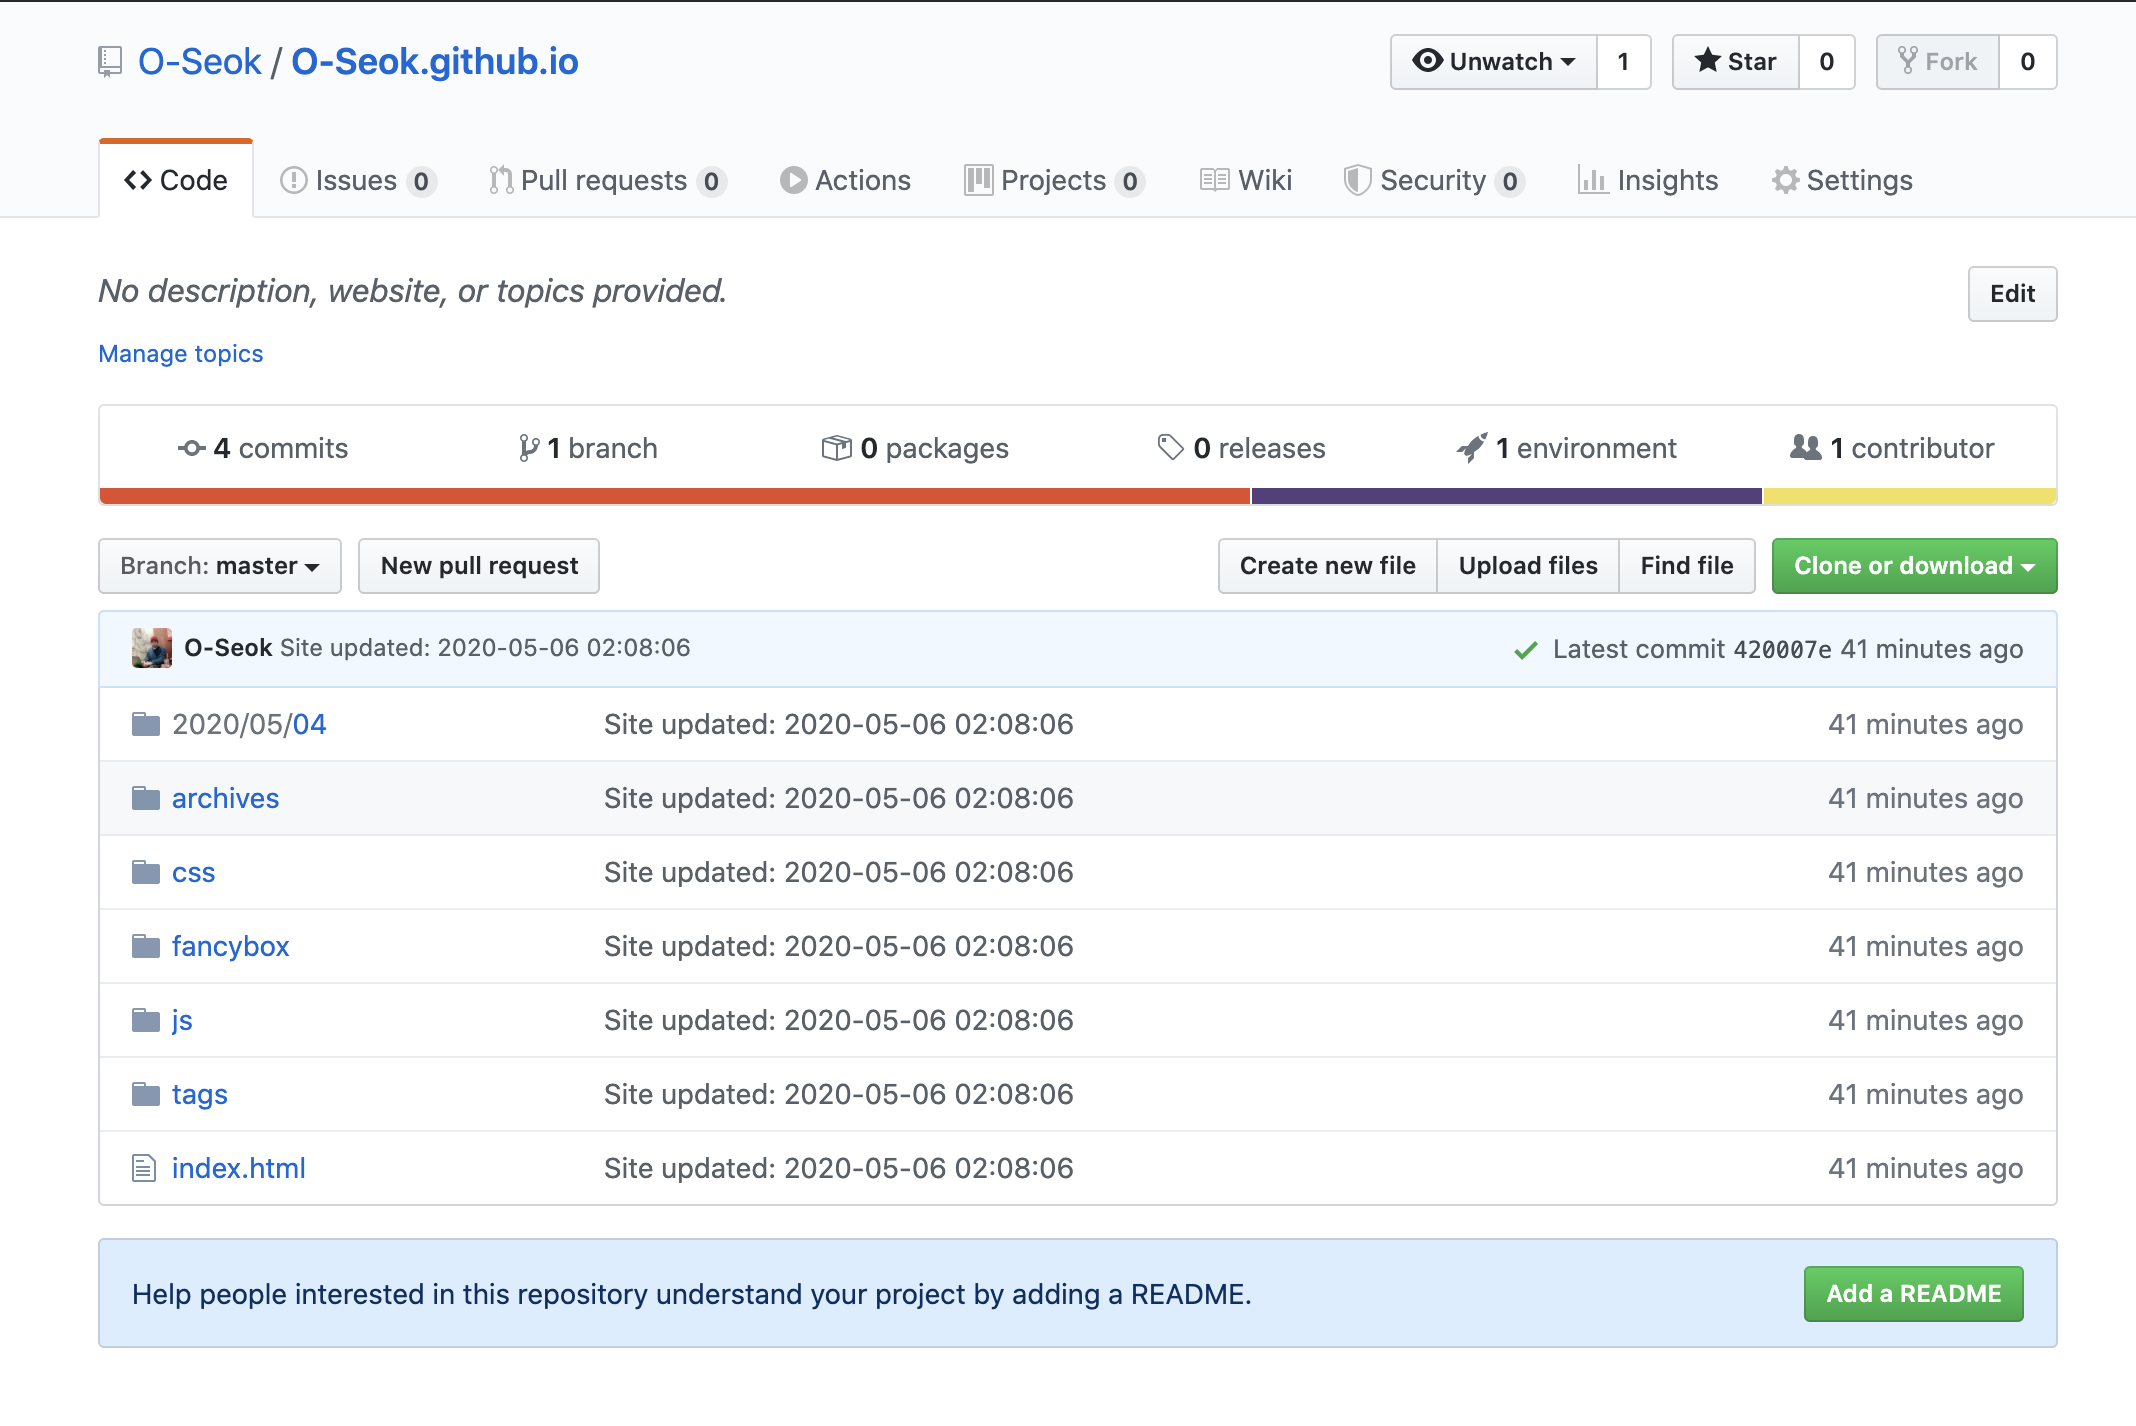
브라우저 url에 블로그 주소를 입력하면 hexo가 된 것을 확인 할 수 있다.
BRAVO ~~ !!! 👏🏼

# 키워드
- sudo npm install -g hexo-cli
- hexo init
- hexo new post
- serer, clean, generate, deploy
- .config_yml
- url:
- deploy:
- type: , repo: 설정 법칙